Monday, March 16, 2020

Staying Home | Content to Explore


YouTube Channels
LiveStreams 
 Audio
Museums Collections, Archives, Exhibits
Online Courses/MOOCs
Activities
  • Take a walk
    • around your house
    • in the yard
    • in a park
  • Read a chapter in a book
  • Jam out to favorite music
  • Take photographs
    • close-up 
    • far away
    • of a flower
    • of cool typography
    • of a bunch of ____.
    • of a landscape
    • of clouds/sky
    • of a decoration
    • of something blue/pink/red/yellow/white/black/purple/orange/brown
  • Color in a coloring book
  • Bullet Journal about a favorite thing/interest/activity
  • Print out/organize pretty images to print and collage
  • Learn new origami
  •  Draw
  • Paint
  • Sew, Cross stitch, embroider, quilt
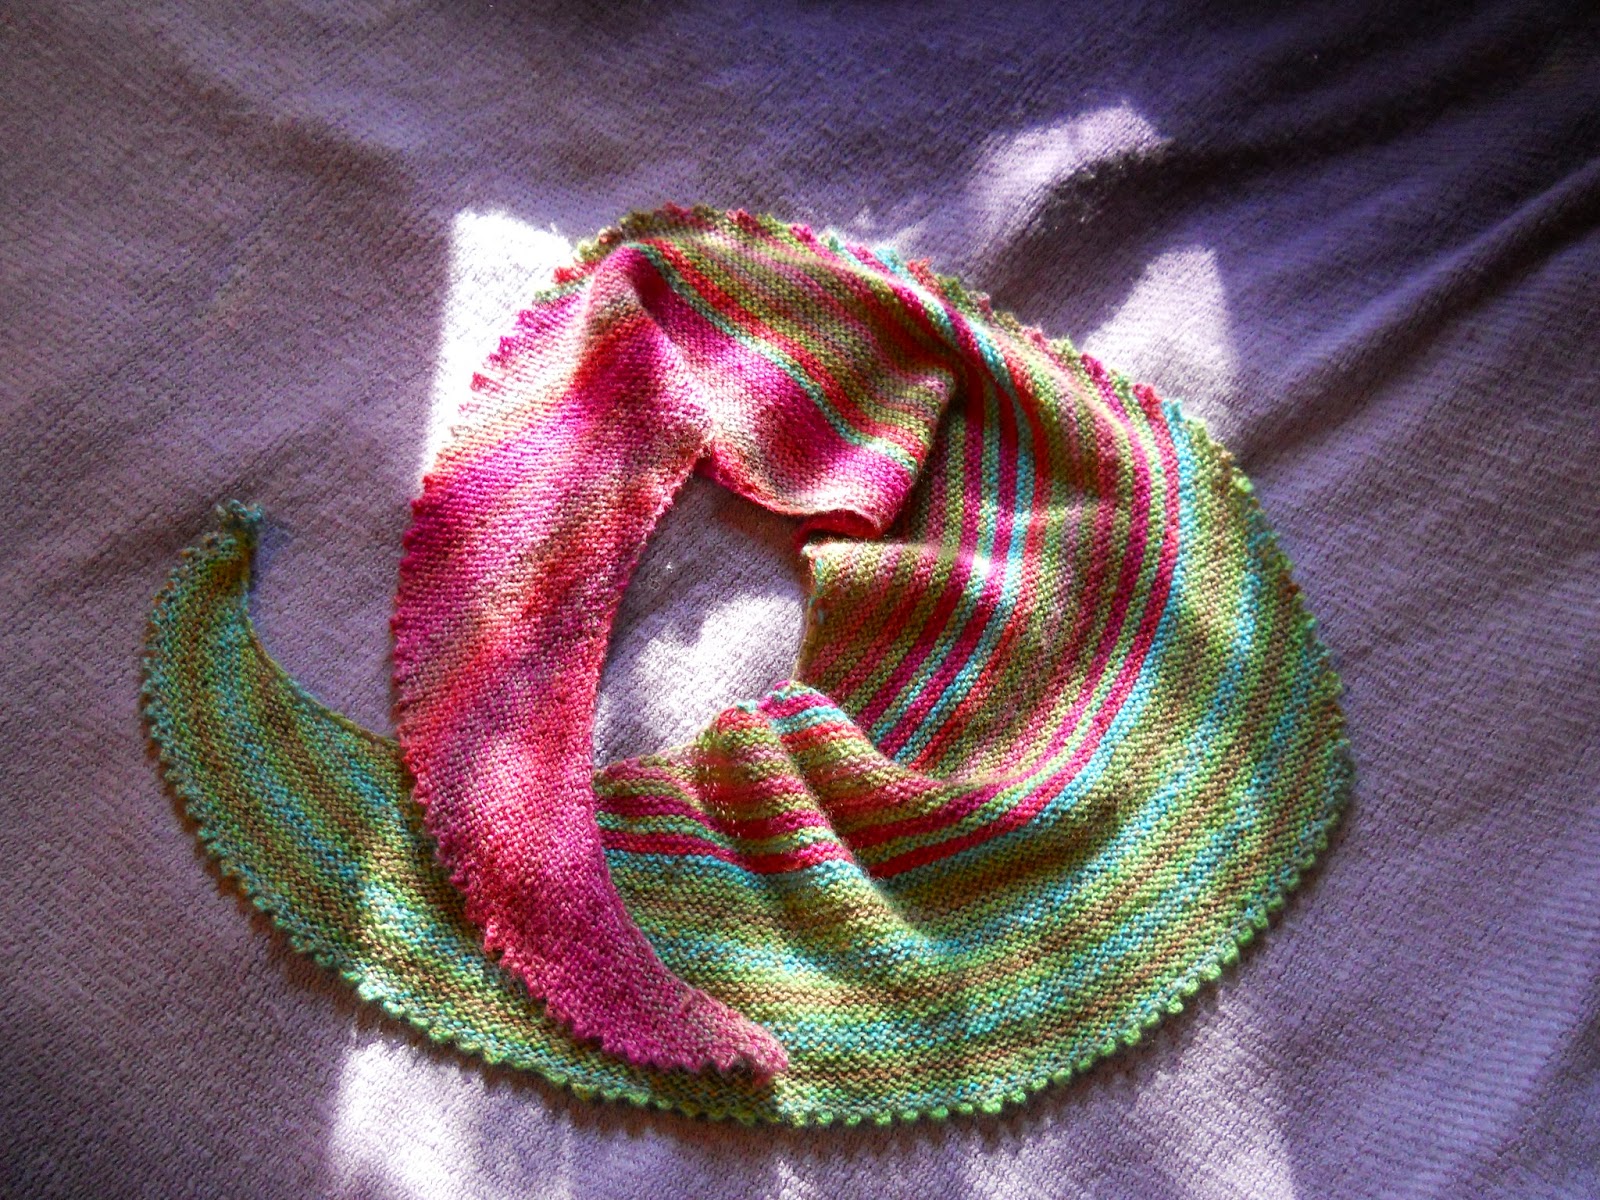
  • Knit
  • Spin, Ply, Wind
  • Crochet
  • Plan 
    • a party
    • a trip
  •  Write a letter/postcard
    • start a story
  • Tidy a shelf/area around the house

Wednesday, January 4, 2017

Using Microsoft Excel for Cross Stitch Purposes*


Example of a Microsoft Excel created cross stitch design.
Remember to zoom in and out (bottom right hand corner sliding bar) to see your design up close
and to tell if your design is believable from a distance. 
This photo is a screenshot of a design at 30% of its real size.
 
Making Square Blocks

Step 1:Click** on the little rectangle between the row 1 column 1 on the left hand side this will select every block in the entire sheet (see picture below)


Step 2: Click on the line between two columns in the light blue/green section (see arrow) and continue your click while moving your mouse slowly left until the little rectangle above your mouse says that the width (w) is 20 pixels (This is the default height of Microsoft Excel cell rows).*** Lift your finger from your mouse. (See picture below -Because everything is selected your Excel sheet will quickly change all of the cells to be the same width and height not just one column).

***If you go too far in either direction you can move your mouse back and forth while still 'clicking' until you get exactly the size you want.


 Step 3: Click into a cell. This will allow you to change each cell to represent a stitch without changing every stitch simultaneously. Save your document.

Colors or Symbols
 
  • I change the color of the cells (stitch) by choosing a different background color for the cell. 
    • This can be found under the Home tab, under the Font box, and clicking on the arrow next to the Pouring Paint Can. Select a color you like by clicking on it or click Show more colors, selecting a color, and clicking ok.
      • If you want to color multiple cells the same color you can select them all and click the color next to the Pouring Paint Can (it is yellow in the picture above); OR after clicking on the color next to the Pouring Paint Can when the black box (where you are able to type/what cell you are in) matches the first stitch of the color you want you can use the arrow keys to reach the next cell (or click on the cell) and hit the F4 key (this will repeat the last action you did in Excel-sadly if that was hitting the Undo button it will not color your background but will Undo your last action, etc.). I find pushing buttons goes a little faster than clicking on each cell I want to color and then clicking on the color square next to the Pouring Paint Can.
  • Or you can use symbols:
    •  I just use the same letter, number, or punctuation mark to represent a final floss color. Usually it's when I want a white or flesh tone cell colored which don't always print out very differently from the white non-pattern cells.
  • Sometimes for representing backstitching I add a line or series of lines (like for smiles). (Insert Tab, Shape, Click on the Line, and then click and drag on the Excel sheet where you want it to go). 
    • To change the color of a line:
      • On the Format tab, click the arrow next to Shape Outline, select a color you like or click on Show more colors, selecting a color and clicking ok.
    • To add add multiple lines and have them move as one:
      • Arrange them how you want them to finally look anywhere on the sheet (like for a smile two diagonal lines and a horizontal line connected); and then click on a line (it will show two white dots on the ends); Hold down the Shift or Ctrl key (not both) and click the other lines you want to add; let go of the Shift or Ctrl key; Right click on one of the selected lines; go down to Group on the menu and click Group. All the lines when selected should have a rectangle around them; click and drag on the sheet to where you want for them to end up. Click on any cell to stop the lines' selection (they won't move).
Printing
By default Microsoft Excel does not print the Grid Lines around each cell -so once you print your design it will appear to be floating in space. Handy to know how your final project will look; but a bit frustrating to stitch from.

To change that:
  • Click on the Page Layout Tab, and under the Sheet Options Box, Grid Lines, click the box Print so it shows a check mark. Save your document.

*Technically these instructions could be used on a tablet. The options Microsoft Excel has does not change but the methods of selecting something and right/left clicking something are a bit more difficult and you should consult your tablet's instruction manual as it differs by device. 
 
**In this tutorial, unless stated otherwise, it is assumed that when you 'click' it is with the left button of your mouse or left side of your keypad.

Saturday, November 19, 2016

If Knitters/Crocheters Earned a Minimum Wage...*


I was trying to find a (very) general price guideline to really demonstrate that hand knitting/crocheting an item represents a significant amount of effort. The current consumer market for handmade knitwear is actually very low at the moment; a guess estimate for an average market price is the price of the yarn + 15% commission (or less). So, I tried to create my best guess of what a knitter would charge for their knitwear if they wanted to earn minimum wage for their time (below).* Although my equation includes a whole host of variables; it does not include any business planning time, taxes, or shipping materials which would affect any real knitwear seller.

Total Unit Price: M + 0.1Q + 0.1X + L + 0.1P


Fancy; but what would that mean? 


So for a pair of plain (stockinette) socks 
let's break down my equation:

Price of Project Specific Materials (M): $13.00 
Price of Equipment (Q) : $ 0.87
Price of Experience: $2.50 = [7 Techniques (Cast On, Kitchner Stitch, Increase, Decrease, Pick Up Stitches, 2 Shaping Decisions-Yarn Gauge & Size for Foot) + 18 Years at Craft] x 10%
Price of Labor (L) : $130.4 = 16 hours x $8.15 (2017 Ohio Minimum Wage)
Profit Minimum: $14.68 = 10% of  $146.77

Total Asking Price: $ 161.45


Definitions of Variables 

Price of Project Specific Materials
This would include items which you use most/all of in the project like yarn and beads.
 
Price of Equipment
This is based on recouping the cost of what I consider basic knitting equipment within 150 commissions. These prices are not the lowest - nor the highest on the tool spectrum and are a rough average price. Remember to change the Needle Price & Percentage to reflect the true number of needles in a project.
               
EquipmentPrice ($)Lifespan (Years)10%
1 Set of Circular Needles or 2 Sets of Double Pointed Needles 9.80 10 0.098
Wool Wash 13.00 7 0.186
Pins 5.00 15 0.033
Blocking Boards 15.00 10 0.150
Yarn Needles or Stitch Markers 3.00 10 0.030
Yarn Winder 20.00 10 0.200
Swift 50.00 30 0.170
Total115.80N/A0.867

Price of Experience
(Range of techniques needed in the pattern + years of experience in the craft) x 0.10
 
Price of Labor
Minimum Wage x Hours Worked
This does not include any time for accounting, advertising, customer service, business planning, etc. 
 
Minimum Profit
+ 10% of all previous Pricing Variables
This is to add a teeny price cushion for the producer to learn new techniques, upgrade equipment, raise future product quality, treat any craft injuries, buy material storage, advertising, etc.


* This set of equations is based on my remembered knowledge from a basic economics class over eight years ago and basic business math classes. Please do not consider this solid business advice; consult with a professional!

Wednesday, March 16, 2016

Vacillate


KnitPicks Stroll Tonal in the colorways Deep Waters and Wine Tasting.


Size 6 needles.


LOVE this color combo.

Thursday, March 3, 2016

Black Raspberries Progressive


5 ounces of Bee Mice Elf in the Superheroine colorway, 
972 yards, 2 ply. : )

Received this for Christmas and spun up very quickly.
The first spin which used my new Kromski Minstrel Bulky Flyer!
Still had to split the spin in half but it was understandable due to the final yardage.... 

Monday, February 29, 2016

Mint Chocolate Secret of Change Shawl


Love this shawl of my hand spun; it knit up so quickly.


Size 6 needles, 838 yards of my handspun of a Polwarth/Silk 
non-repeatable blend from Fiber Optic Yarns.

Friday, November 27, 2015

Macaw


Chain plied with 144 + 164 + 170 + 138 = 616 yards.
Love the final yarn, but I'm unsure what to do with it due to the yellow/orange....

http://www.ravelry.com/people/gizmo098/handspun/macaw 

8 ounces of 100% Corridale, 
Pastels colorway.

http://www.ravelry.com/people/gizmo098/handspun/macaw

Orenburg Wrap

http://www.ravelry.com/projects/gizmo098/orenburg-style-wrap 
I had the privilege to test knit for Natalia Shepeleva
 and her Orenburg Style Wrap pattern : )

http://www.ravelry.com/projects/gizmo098/orenburg-style-wrap

Her pattern is clearly charted and is very intuitive.


http://www.ravelry.com/projects/gizmo098/orenburg-style-wrap
 Size 3 needles, two skeins of Cascade Yarns Alpaca Lace in the Ecru colorway.

Wednesday, November 25, 2015

Emily, Take Two

  The second time I've spun this colorway; this time for me.
Greenwood Fiberworks in the Emily colorway, 4 ounces of 100% Polwarth wool.
The braid did come in two irregular pieces and I did a bit of color management
 to get the colors to mostly match up.

Deadly Nightshade

http://www.ravelry.com/people/gizmo098/handspun/deadly-nightshade
Lovely chain ply spin with 100% Superwash Merino 
from Into The Whirled in the Death colorway.
4 ounces, 647 yards.
Discovered with this skein that my niddy noddy was too large and so I had to go back and recalculate my yardage for all of my previous handspun. I finally figured out exactly how off it was from 2 yards and wrote an equation into my graphing calculator which saved my quite a bit of time.

Blog Archive